
Abilities and appearance
Choose or import a cat skin
Vanilla cat coats, custom skin imports and neko ears.
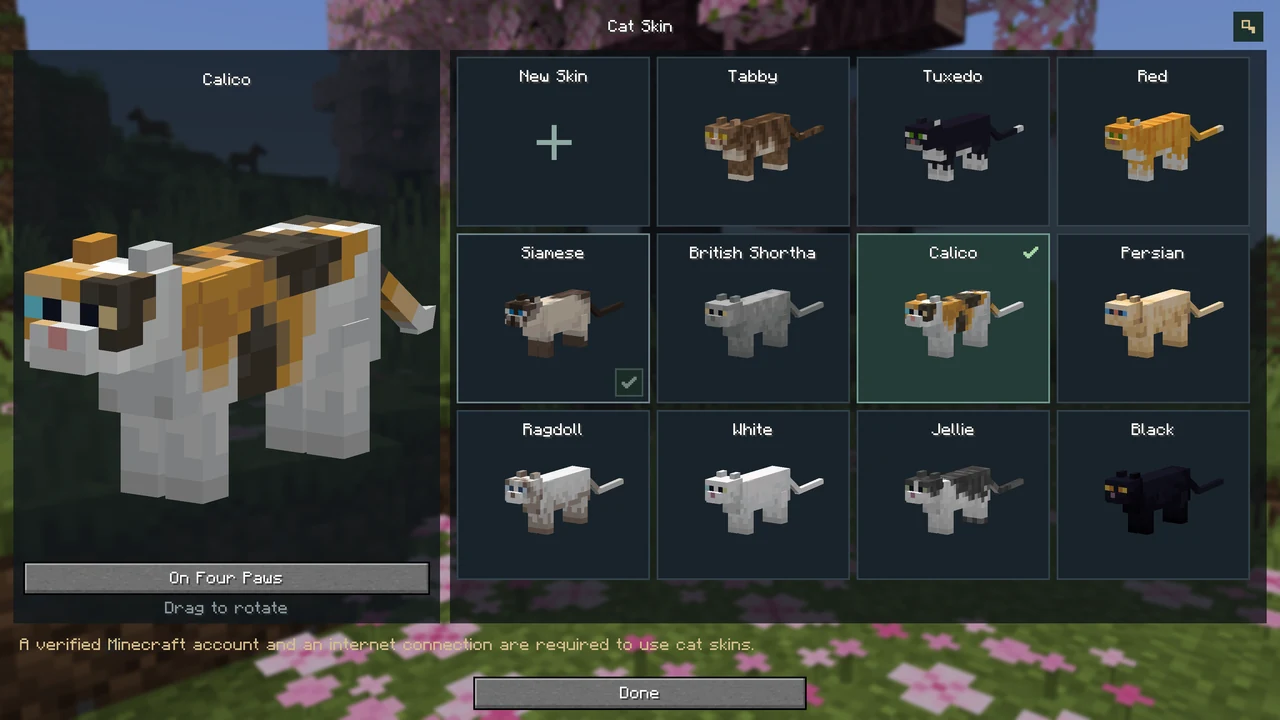
Choose a Minecraft cat coat
- Open Mods → Nekogenix → Config → Cat Skin.
- Select one of the 11 Minecraft cat coats. Rotate and zoom the preview to inspect it.
- Hover over the coat’s card and click the checkmark labelled Use to apply it.
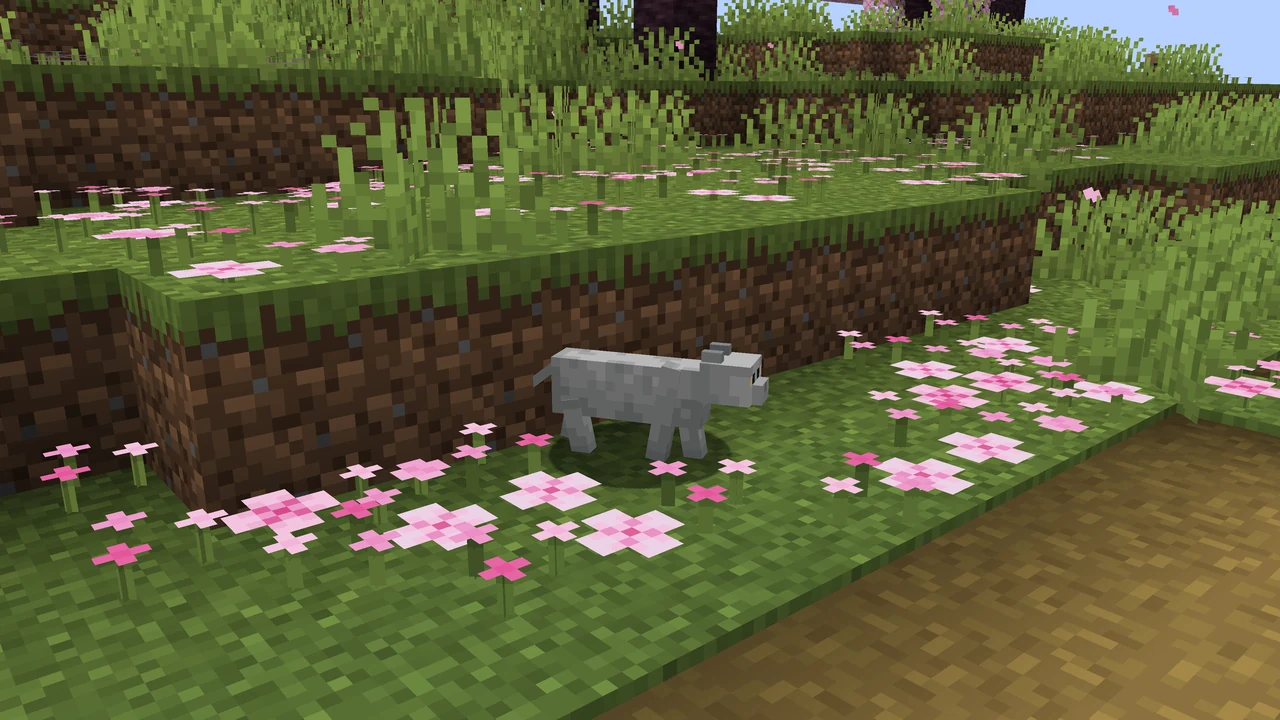
Your neko ears
Your chosen cat skin also colours your neko ears. They move as you run, jump and turn your head, and shake off water. Headgear hides them.
Import your own skin
- Choose New Skin. Use Download Skin Template for a colour guide to the body parts, then draw your texture as a 64 × 32 pixel PNG no larger than 16 KiB.
- Choose Upload Skin and open your PNG, or drag the file onto the editor.
- Check the skin in four-paw, upright, sitting and Neko poses. The Neko preview shows the ears on your player skin. Give the skin a name.
- Choose Save to keep it in the library, or Save and Use to apply it immediately.
Manage saved skins
Select a saved skin to preview, rename, apply or delete it. Your library can hold up to 32 custom skins.
Applying a skin
Applying a coat requires an internet connection and a verified Minecraft account. You can edit and preview skins offline.
If account verification fails, reconnect to the internet and sign in again through your launcher.